NOTE: THE FOLLOWING STEPS WORK ONLY FOR NON-PROTECTED FILES.
Background: I'd created my Saturday In May in GarageBand and it was saved as an MP4 audio file. Apparently some of my friends were unable to play in that format so I searched for a way to make the conversion. Kevin described broadly how it could be done via iTunes.
I'd also found this freeware called Switch (www.nch.com.au/switch), which worked quite well but I realised iTunes, while a bit cumbersome compared to using a software convertor, allowed more control over the conversion (e.g. setting the bit rate and overall sound quality). So here's a step-by-step process of how a conversion could be done using iTunes (click on the images for larger sizes):
#1 - Open iTunes:
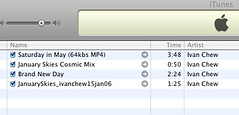
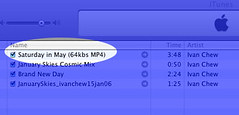
#2 - At iTunes, select the song you want to convert. In this case, I've selected "Saturday In May" among my other song titles:
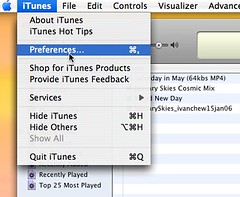
#3 - Go to your iTunes menu bar, select Preferences (or you can press 'Command' and 'comma' keys, i.e. "⌘,"):
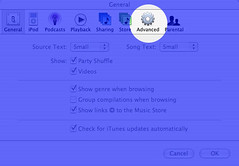
#4 - At the Preferences window, select the 'Advanced' option:
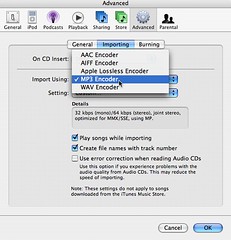
#5 - At the 'Advanced' section, click on the button that says 'Importing' and then for the part on 'Import Using', choose 'MP3 Encoder':
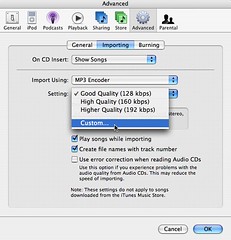
#6 - Under Settings, choose 'Custom' (you can choose any of the options there, but 'Custom' settings ensures you set the right bit rate as you will see in step #7):
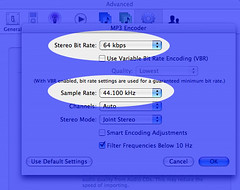
#7 - If you've selected 'Custom', you'll see this window; just check that your Stereo Bit Rate and Sample Rate are to your desired settings (sorry, I can't give through explanation on audio settings. I just know that it's safest to set the Sample Rate at 44.1 khz or else the audio file you upload might playback with a Sped-up High-pitched Chipmunk effect)
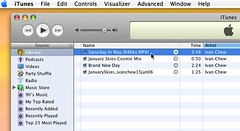
#8 - Close the Preferences window; here I'll just double check that I've selected the right song
#9 - At the iTunes menu, select Advanced -> Convert Selection to MP3 and the conversion would start (note: If you've selected something else in Step #5, you'll see that respective option. E.g. if you've selected 'AAC Encoder' under 'Importing' at Preferences earlier, you'll see Convert Selection to AAC instead)
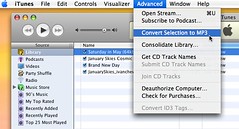
#10 - Once iTunes has completed the conversion, you should now see TWO songs of the same title, like so:
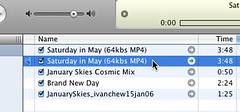
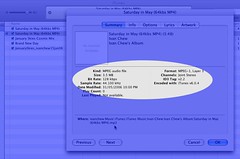
#11 - To confirm, select that song title and press the '⌘' and 'i' keys to view the file information, and you should see a new window with the file details:
[Also posted at MyRightBrain]
Technorati Tag: itunes

Well, this is NOT a spam, but if you're looking for a software that's fabulous in converting from one media file to another, use this.
ReplyDeleteStill suspicious? Well, it was Dugg three months ago. Not sure about converting a video file to MP3. But it worked well (better than Quicktimes) when I wanted to convert an AVI or MPG file into MP4.
I followed all your instructions but it did not convert as it said it can not convert protected files. How do i get round this??
ReplyDeleteHi Anonymous, I've only converted music I created so far. Not too sure about the "protected files". I asked someone else who's more knowlegable than me in this area and the advice was you can't convert the "protected files" cos they're probably purchased from iTunes or something (DMR protected). I'm not too sure what are the terms and conditions of using music purchased from iTunes but if it's allowed, maybe you burn them to CD and rip them back as MP3. You might want to check the Apple Support Forums for info.
ReplyDelete